
Aside from the iPhone SE and the 9.7-inch iPad Pro, a few other stuff was revealed during the Apple event held last week (March 21st). Among those is the iOS 9.3 software that included a bunch of new features and updates. The update that got the most attention is the new Night Shift mode which automatically changes the color temperature of the iOS device’s display to adjust to the time of day.
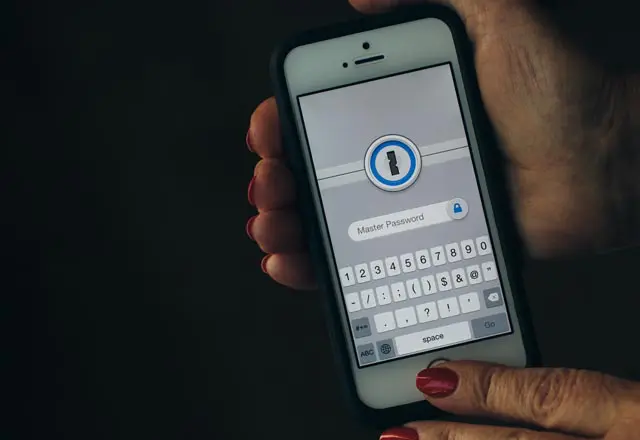
Another important update included in iOS 9.3 that isn’t getting that much attention is the ability to add a password or Touch ID security to individual notes on the Notes app. This feature allows users to keep sensitive information safe from prying eyes. It can be very useful for people who use the Notes app to store their bank account numbers, pin codes, and passwords.
Today, we’re gonna show you how to use this feature to password protect notes on iOS 9.3 and OS X 10.11.4.


Password Protect Notes on iOS 9.3
- On your iOS device, navigate to Settings.
- Tap on “Notes“.
- Tap on the “Password” option.
- If you haven’t set up a password, the system will ask you to set one.
- To make your Notes more secure, select a unique password for this app.
- Don’t forget to provide a password hint.
- If you prefer to use your fingerprint instead of a password, select “Use Touch ID“.
- Tap “Done“.
To check if it works, either select an existing note or create a new one and enter any information. While you’re inside that note, tap on the Share icon (upper right corner) then tap on “Lock Note“. Enter your password or Touch ID fingerprint you created earlier. If you didn’t set up a password or Touch ID fingerprint, the lock will be automatically added to the note.
Be advised that the note will not be automatically locked. To do that, tap on the newly added unlocked button on the upper right corner of the note. Once you do that, the information inside the note will be hidden and replaced with this message – “This note is locked“. To unlock it, simply tap on “View Note” and enter your password or use the Home button to activate Touch ID.
Like the iOS 9.3 update, OS X 10.11.4 now also supports password-protected Notes. The only difference is that on the desktop version, you need to make sure that the Notes app is synced with iCloud.
Password Protect Notes on OS X 10.11.4
- Open System Preferences > iCloud.
- Scroll down and look for “Notes“.
- Make sure that the checkbox is ticked.
Since iMacs and Macbook Pros don’t have Touch ID, if you need to unlock a note outside your iPhone or iPad then you’ll need to type in the password instead of using Touch ID.
If you need to change, reset or remove your Notes password, just go back to Settings > Notes > Password and tap on either “Change Password” or “Reset Password“.
That’s it! Now you can lock specific notes on your Notes app to keep your personal and sensitive information safe. Hope this short tutorial was able to help you. If you’re having trouble and need help setting this up on your device or if you want to share your thoughts on this topic, feel free to leave a comment below.
[image source: flickr.com/photos/ervins_strauhmanis]