
Recently, I had someone ask me how to install new fonts on a Mac because he needed it for a PowerPoint presentation. After I was done helping out, I thought about sharing this tutorial because I know that there are many other users out there who, like that person, may want to install computer fonts but don’t know how to do it.
In this tutorial, we will be showing the ways how to to install computer fonts for Mac, Windows and Linux computers including detailed instructions for different versions of the OS (operating system).
Before we proceed with this tutorial, just want to remind you, folks, to make sure that you only download fonts from reliable sources. Personally, I get my fonts from AcidFonts, DaFont, MyFont, and UrbanFonts.


How To Install Fonts on a Mac
Before installing any font/s, make sure that you close all other programs especially those that you will be using the fonts for, such as Adobe Photoshop or Microsoft Word/PowerPoint, etc. so that the newly installed font/s can be properly integrated into the system. Also, make sure that the font file/s have already been extracted (no longer zip files) before installing them.
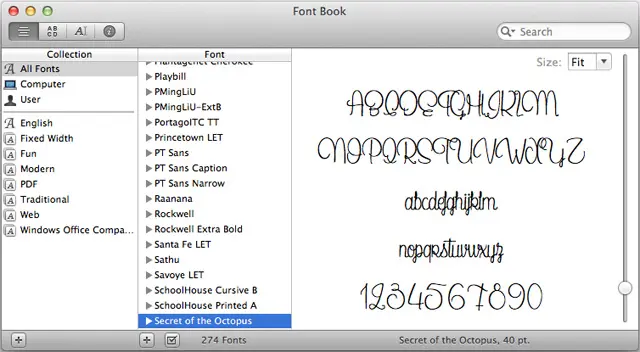
Mac OS X 10.3 and up
- Locate the font file/s that you downloaded
- Double-click the font file and select “Install“
Other versions of Mac OS X
- Locate the font file/s that you downloaded
- Put the font file/s into /Library/Fonts or /Users/Your_Username/Library/Fonts
NOTE: Mac OS X only recognizes TrueType and OpenType fonts (.ttf and .otf).
How To Install Fonts on Windows
Before installing any font/s, make sure that the font file/s you downloaded have already been extracted (no longer zip files) and that you have Administrator privileges.
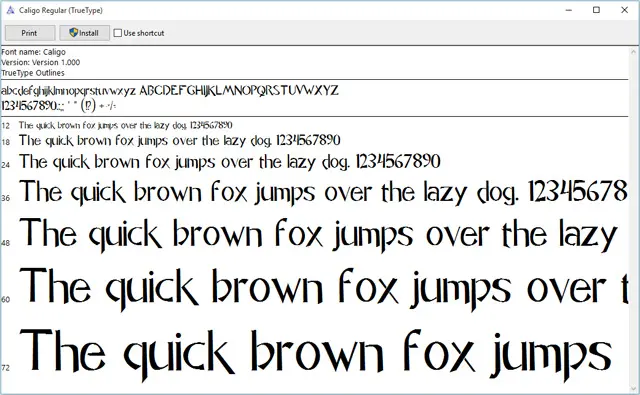
Windows Vista, 7, 8, 8.1 and 10
- Locate the font file/s that you downloaded
- Select the font file/s (.ttf, .otf or .fon)
- Right-click and select “Install“
- Another option is to double-click on the font file/s to open font preview and click “Install“
Windows XP and other versions
- Locate font file/s that you downloaded
- Go to Start menu > Control Panel > Appearance and Themes > Fonts
- Copy & paste the font file/s (.ttf, .otf or .fon) into the Fonts Control Panel window
- Another option is to copy & paste the font file/s into the Fonts folder (C:WindowsFonts or C:WINNTFonts)
NOTE: Make sure that you unzip the font file/s before installing them or moving them to the Fonts folder. Dragging and dropping the files from the zip window will not work.
How To Install Fonts on Linux
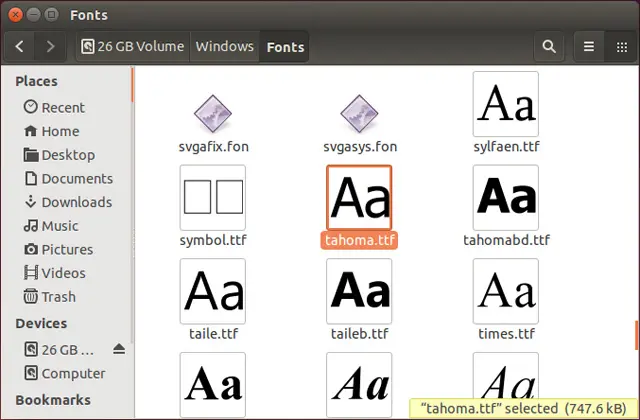
- Locate the font file/s that you downloaded
- Copy the font file/s (.ttf or .otf) into fonts:// via File Manager
Like newer versions of Windows, Ubuntu users can just double-click the font file and click “Install font“. Another option is to go to the /home folder, click on View > Show Hidden Files. Locate the .fonts folder and copy the font file/s into that folder.
For if some reason the font/s doesn’t appear, try restarting your computer. Having programs running while installing font/s could cause this issue, exiting and restarting the applications and the computer itself is sometimes required.
There you go. Those are the instructions on how to install fonts on your Mac, Windows, or Linux computer. Hope this simple tutorial was able to help you.
[image source: flickr.com/photos/iankobylanski]